LED Pumpkins
Fifty 3D-printed, ATtiny10-powered jack-o'-lanterns for work — a crash course in SMD soldering, KiCad, Blender, and firmware, with the mistakes left in the code on purpose.
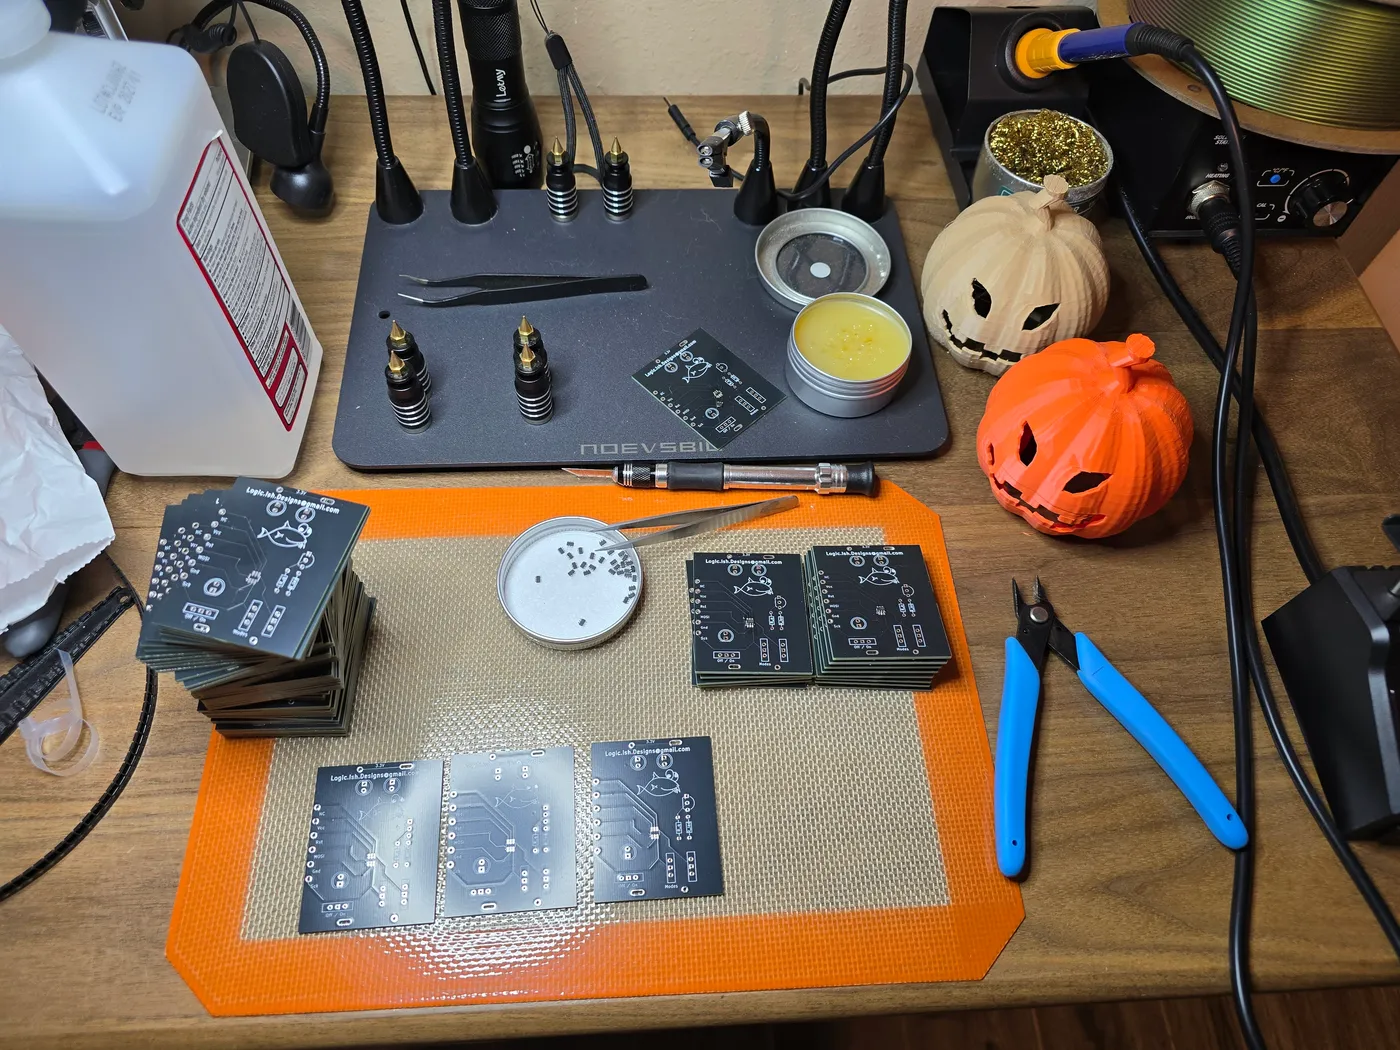
I wanted to learn microcontrollers, so — completely normally — I designed an entire batch-manufacturing pipeline around it instead of just buying a blinking LED off Amazon for three dollars. This year’s work Halloween pumpkins became the excuse: fifty 3D-printed jack-o’-lanterns, each with glowing eyes and a mouth powered by a custom PCB built around the cheapest microcontroller I could find. Torturing myself with batch-building fifty disposable trinkets turns out to be a genuinely great way to learn skills I’ll rarely use again.
The shell went through its own round of iteration. Early designs printed fine but needed grams of support material and a genuinely annoying amount of cleanup per pumpkin, so I kept tuning the model until it printed fast, needed almost no supports, and still read as an obvious jack-o’-lantern at a glance. None of them got painted, either — with fifty to get through, swapping filament color was a much better use of time than a paintbrush.
The electronics side took longer. I picked the ATtiny10 because it was the cheapest chip that could do the job, and then spent a fair amount of effort inventing reasons to actually need it — multiple flashing modes, mostly, because a chip that can only turn an LED on and off doesn’t really justify the choice on its own. Getting there meant fighting the Arduino IDE’s fairly barebones ATtiny10 support, weeks of trying and failing to get interrupts working, and eventually landing on a plain polling loop instead — trial and error the whole way, more honestly documented in the actual code than I’d like to admit.
Every component on every board got hand-soldered, including the ATtiny10 itself — a genuinely fine SMD pitch that took a while to build real muscle memory for, and one that cost me three boards to bad joints and at least one cooked chip along the way. But once a board actually worked, final assembly needed zero wiring: the PCB just clips onto a 3D-printed battery holder, and the whole assembly slides up into the pumpkin from underneath and stays put on gravity alone. Fifty units, no wiring harness, no glue, no screws — just solder joints, friction, and a well-placed slot.