ICU Christmas Ornaments
Why epoxy and a laser, together
I wanted to make something small for the MICU staff this year, and I wanted an excuse to actually get good at two things I’d only dabbled in before: resin casting and the xTool D1 Pro 10W laser that had mostly sat around waiting for a project. I also had a stack of butternut, Baltic birch, and maple offcuts sitting in the shop, thin enough that they were starting to warp past usable — so the wood half of this project was as much about using up scrap before it was too late as it was about making ornaments.
Attempt one: air-dry clay doesn’t like being a permanent object
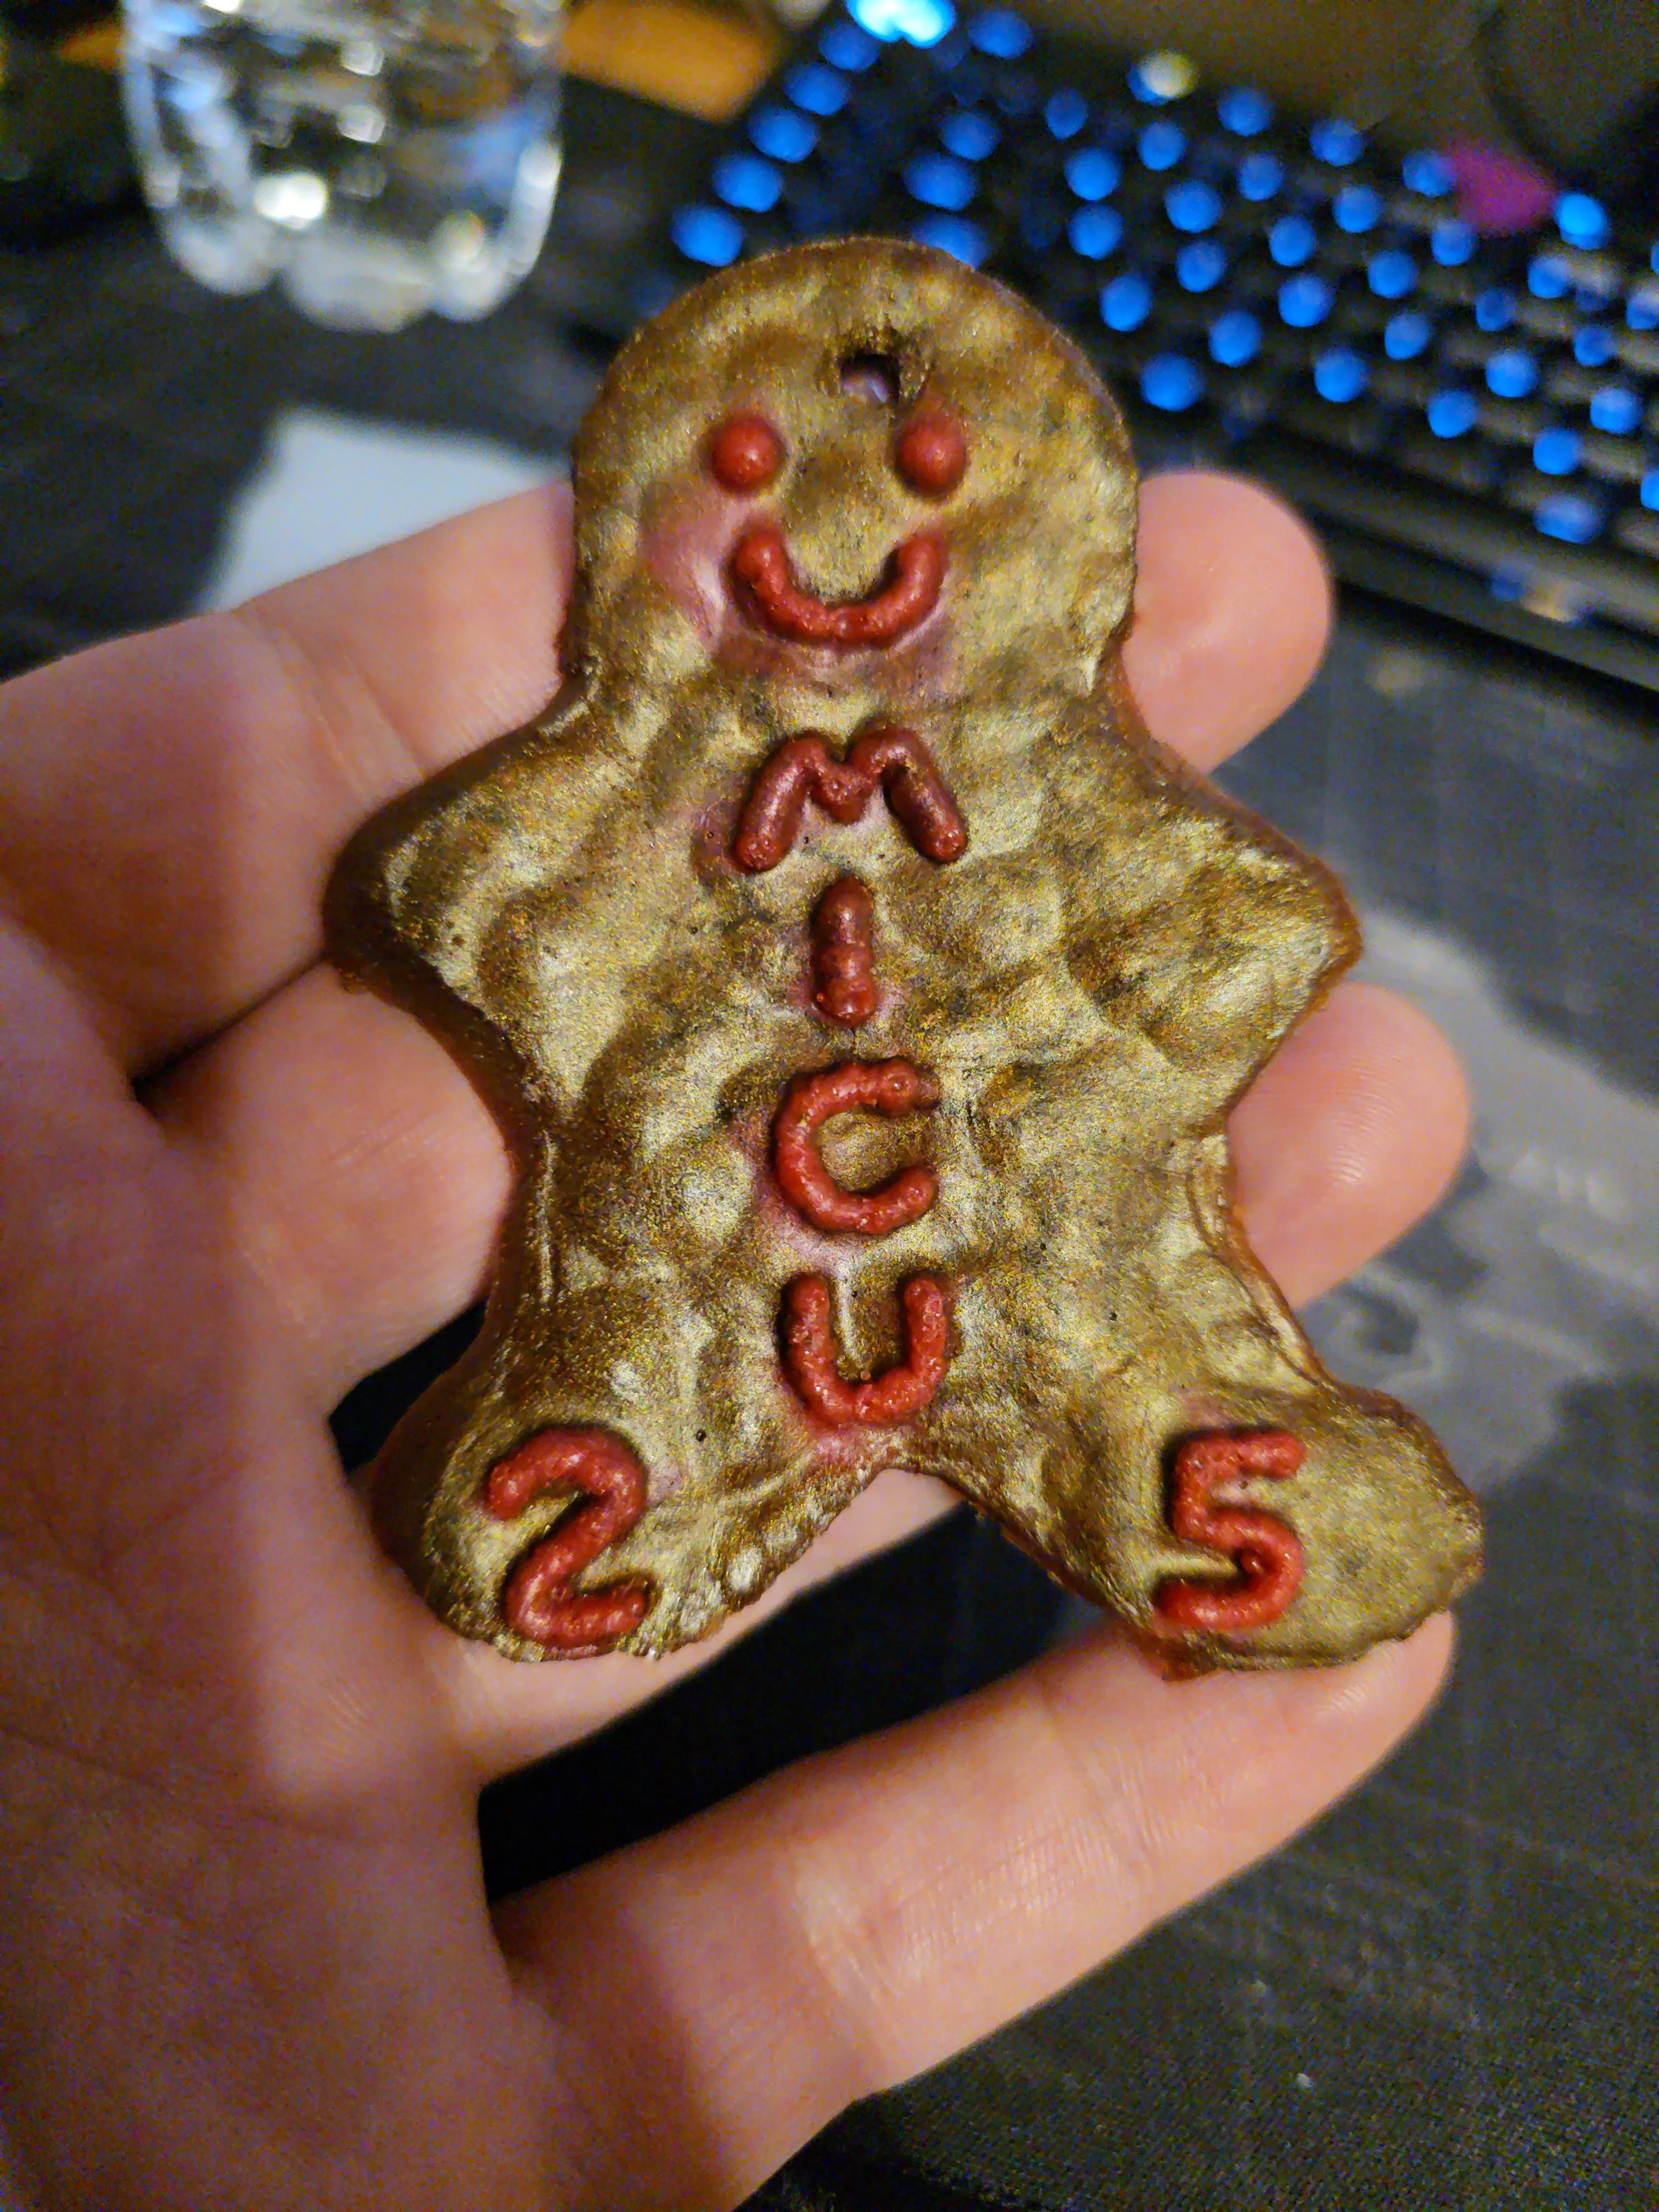
For the epoxy gingerbread men, I needed a master shape to cast a silicone mold from, so I hand-sculpted one out of air-dry clay. Air-dry clay, it turns out, does not sit still while it dries — it cracked, shrank, and came out porous, and all three of those problems transfer directly into whatever mold you make off of it. The first casting came out looking exactly as rough as the master that made it. Not the “hand-carved charm” I was hoping for — just genuinely rough.
Attempt two: paraffin wax fixes what clay couldn’t
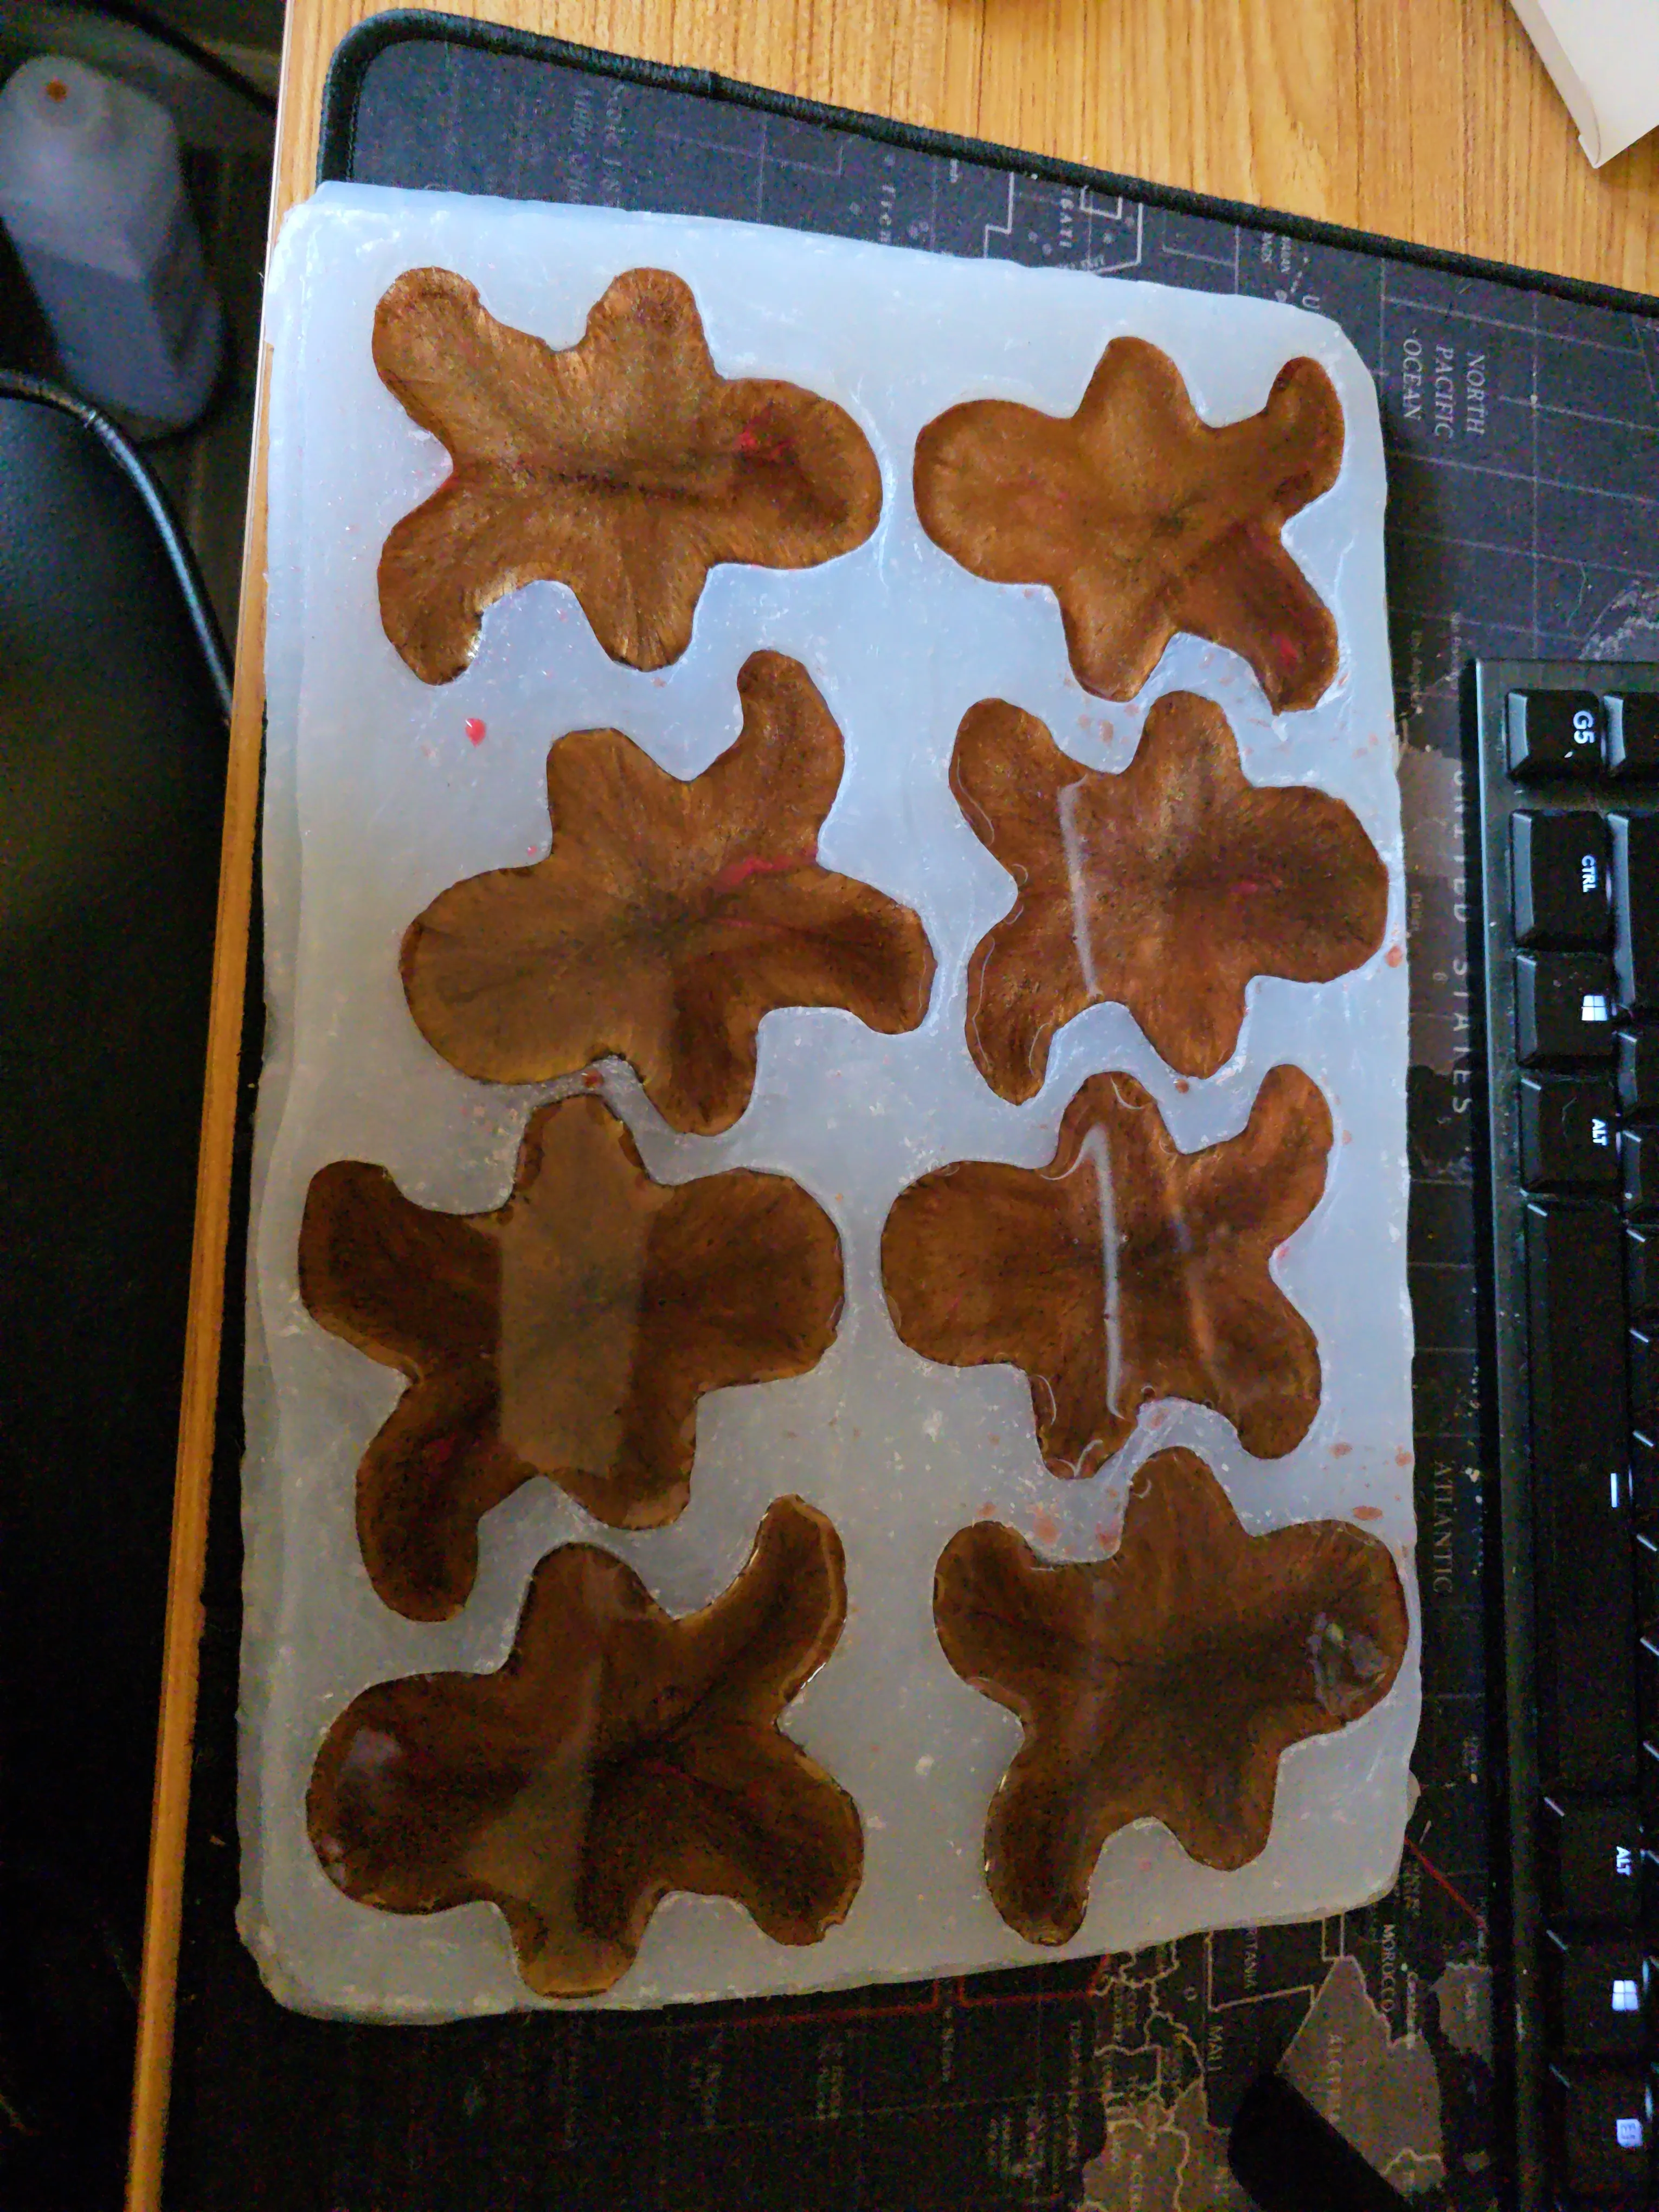
For the real batch, I switched the master material entirely — paraffin wax instead of clay. Wax doesn’t crack or shrink while curing the way clay does, so it held fine detail cleanly. I sculpted eight individual wax masters (for a bit of natural variety between pieces instead of eight identical copies), sprayed them with silicone release agent, and cast one 12“×8“×1“ negative mold with Nicpro’s 2-part silicone rubber — eight cavities from one pour. Once I had a mold I actually trusted, I roughed up the wax surface on purpose before casting the negative, aiming for a sugar-cookie texture instead of the accidental rough texture the clay attempt gave me for free.
Color layers and the tacky-stage waiting game
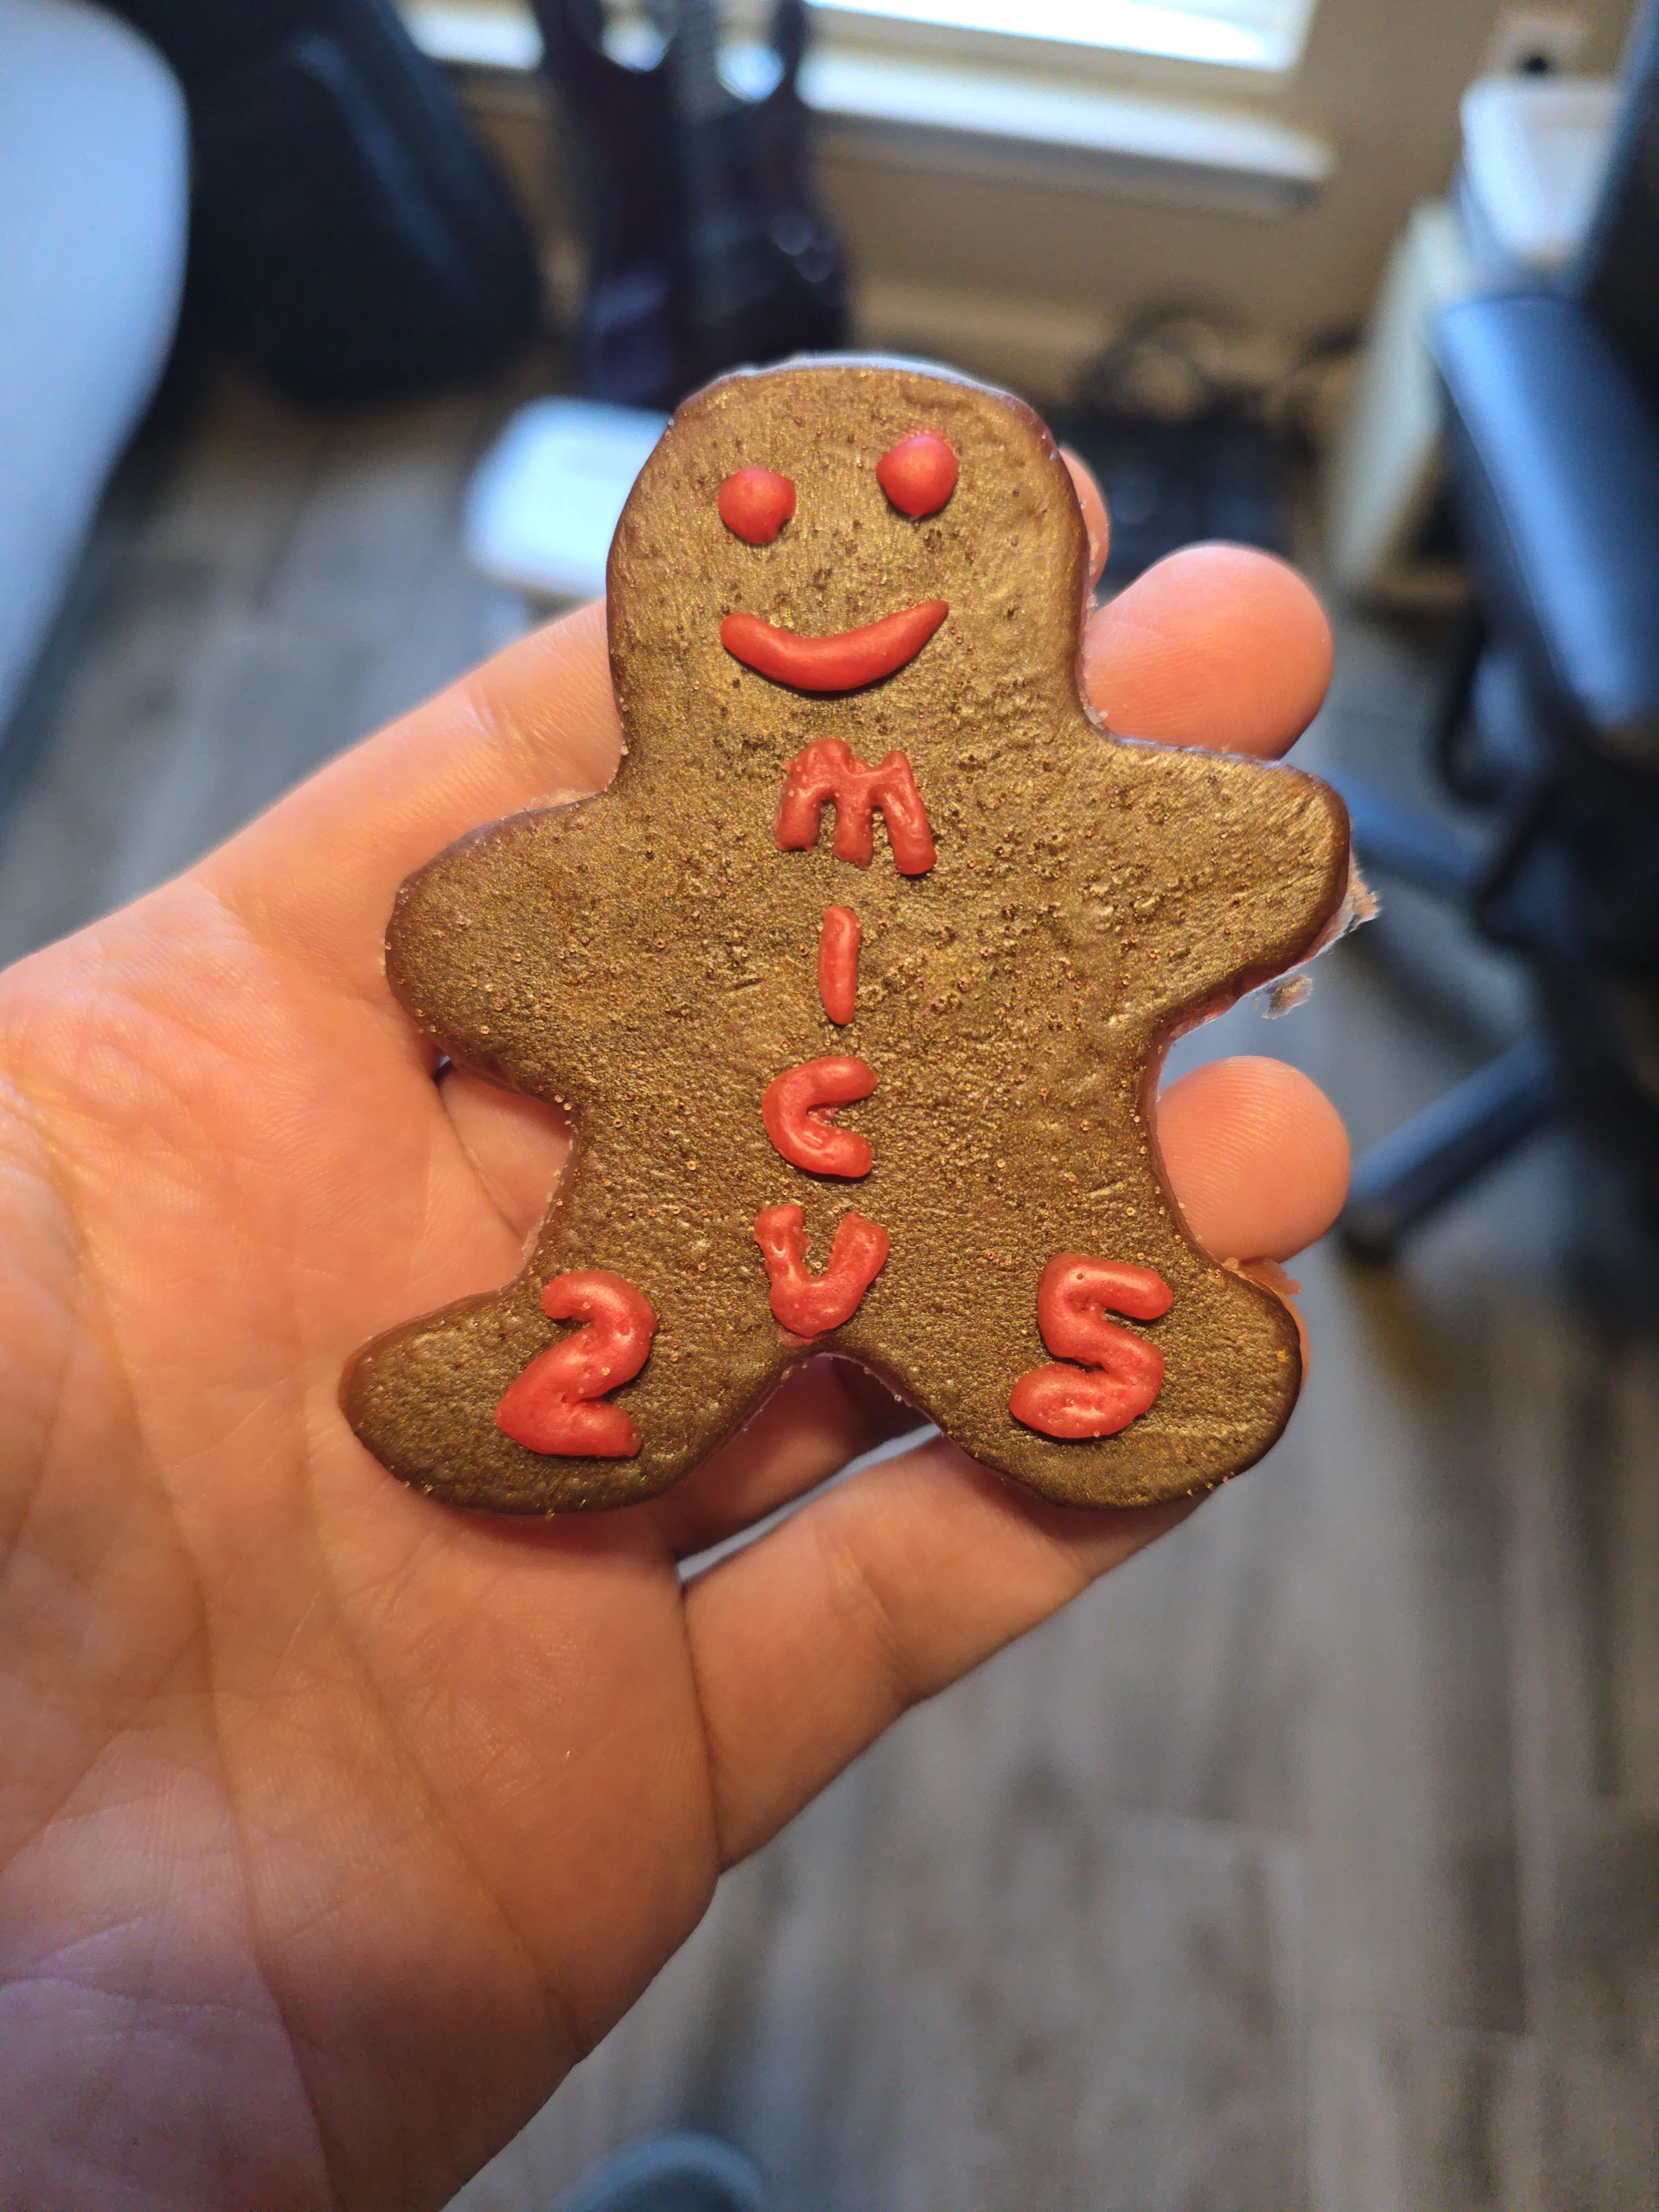
The epoxy itself was Nicpro’s shallow-pour 1:1 resin, tinted with a cheap gel dye kit and a trace of mica powder for a bit of sparkle that barely shows up in photos. Getting multiple colors into one ornament — the gingerbread body, then the red “icing” details — meant timing each pour against the layer underneath it: pour too soon and the colors bleed into each other before either one sets, wait too long and the new layer won’t bond properly with the old one. The sweet spot is somewhere in the tacky, gel-like stage between the two, and finding it by feel took more trial and error than I expected going in. Ended up using around 32 oz of resin across the whole batch.
The wood side of things
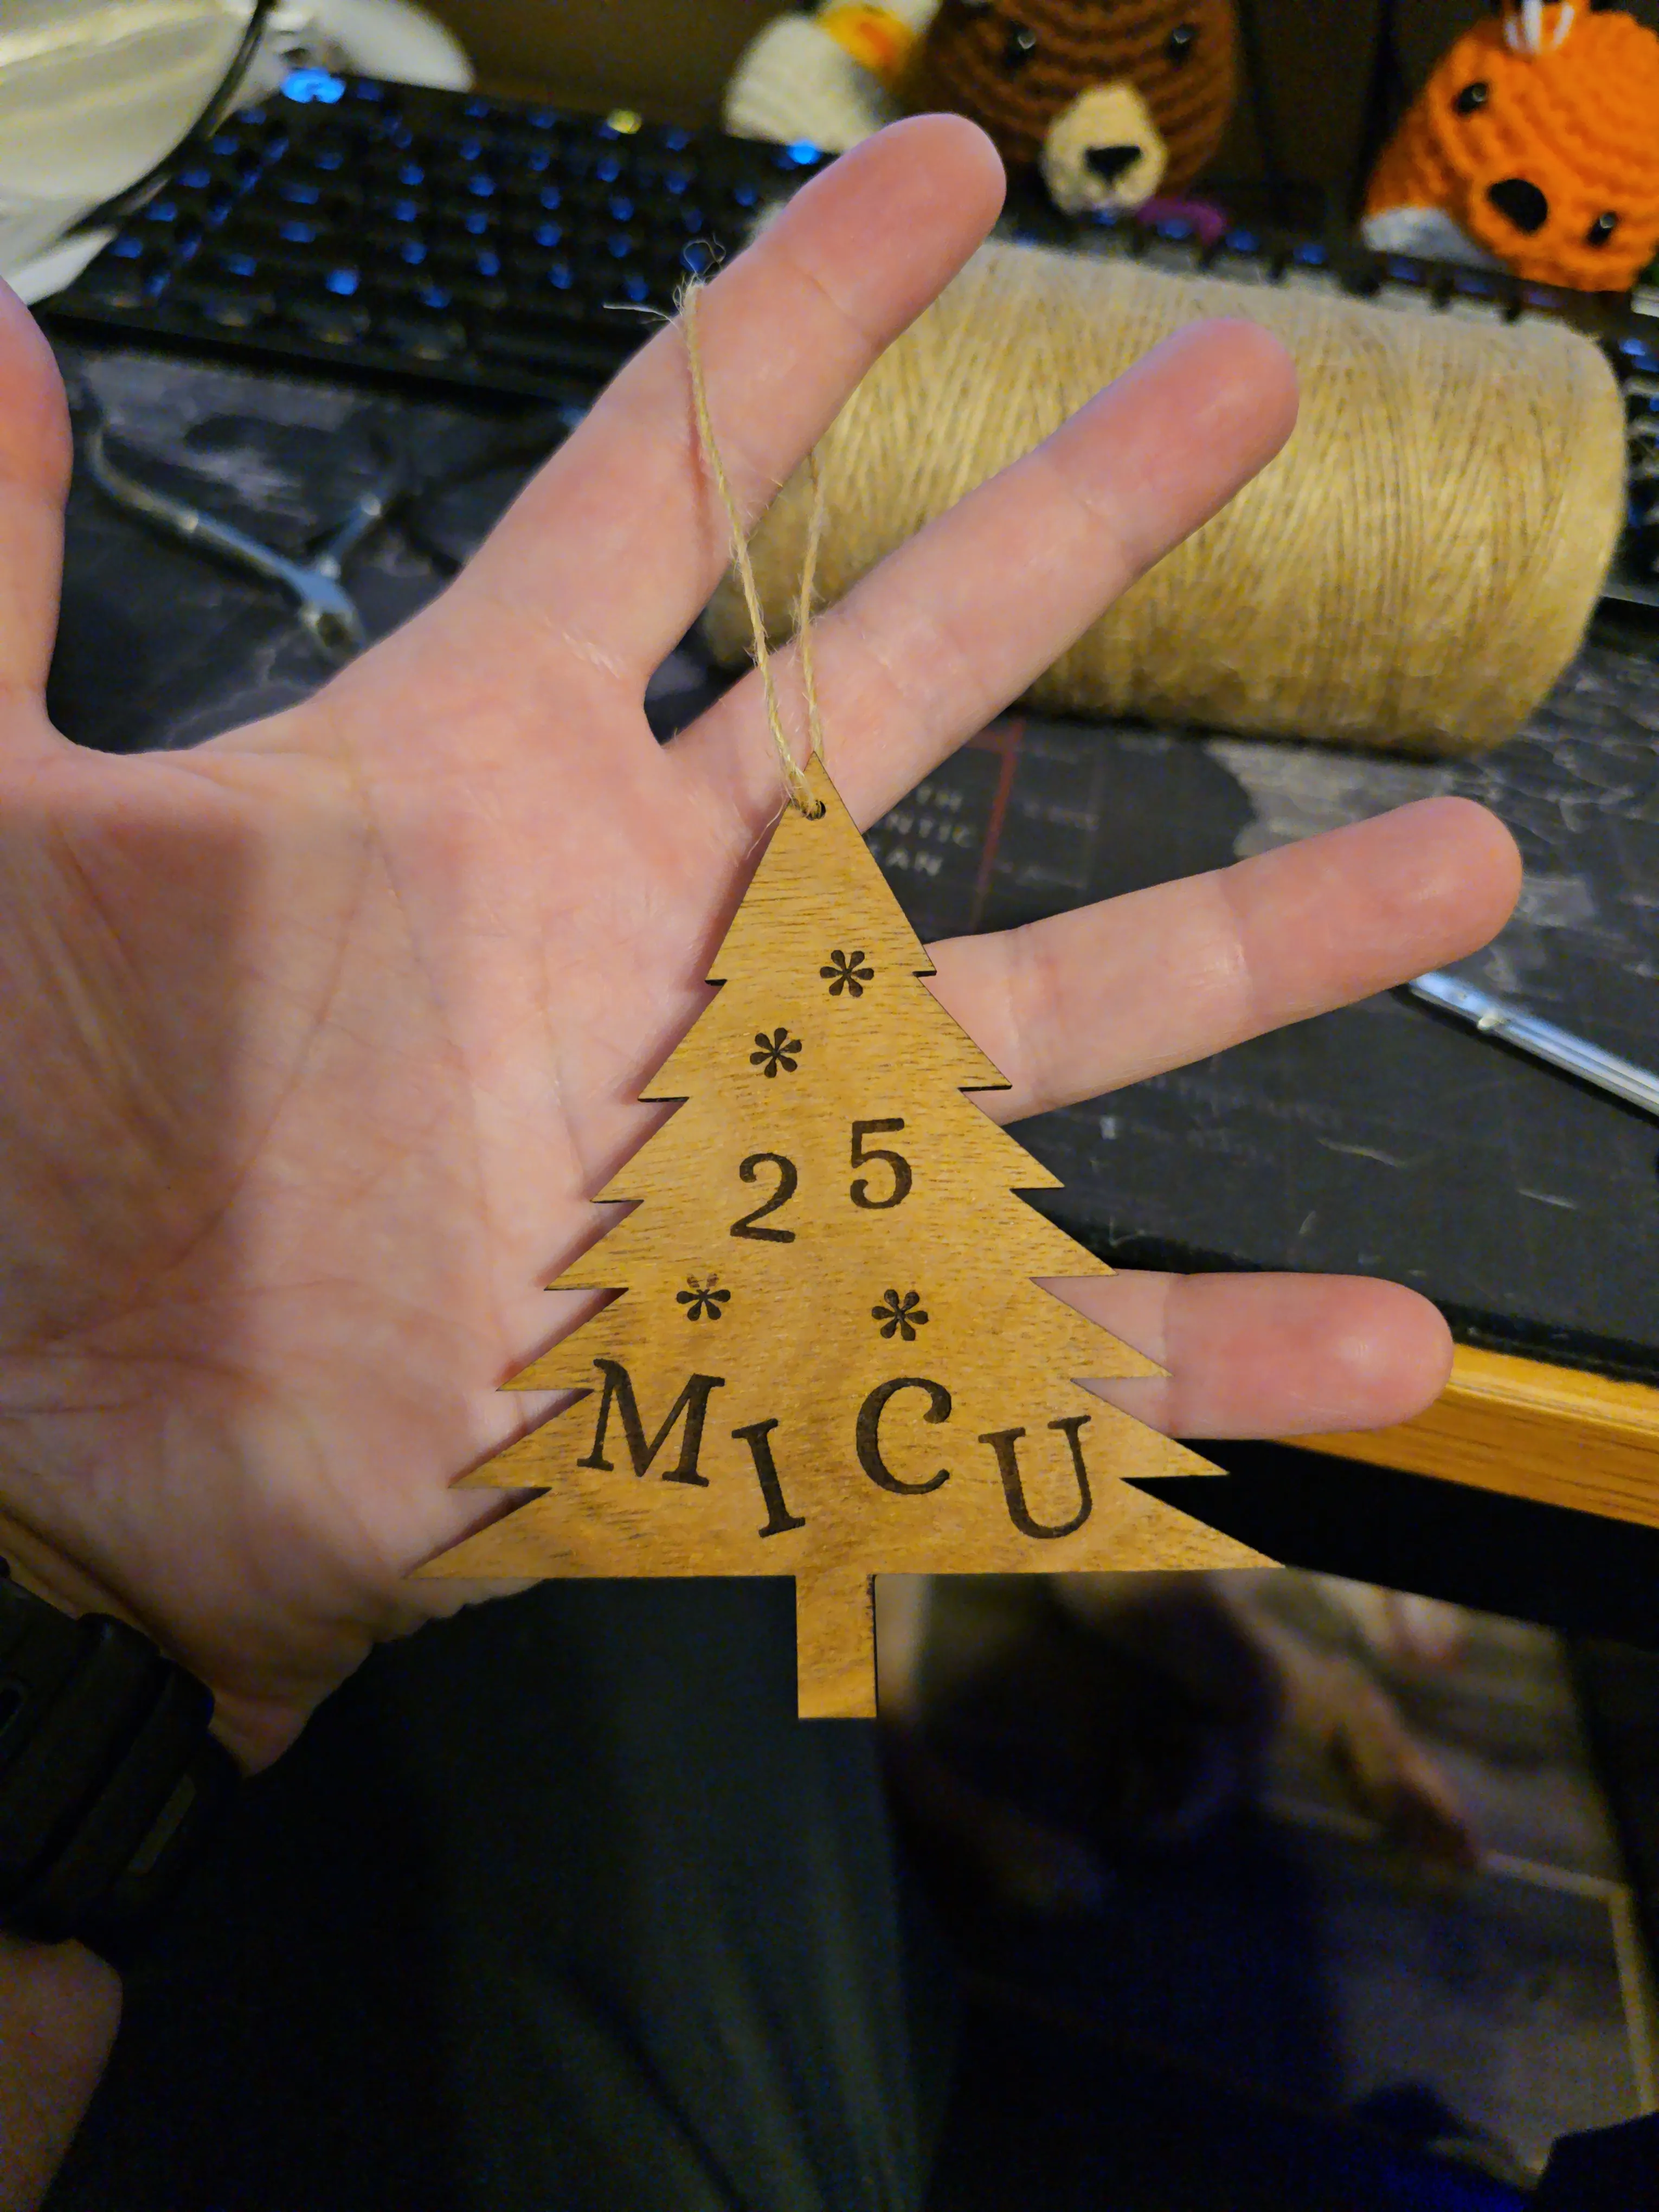
The wood ornaments were the simple half of this project by comparison. A basic tree silhouette built out of triangles in Inkscape, “MICU 25” and a few asterisk snowflakes engraved into the face, then burned into whatever butternut, Baltic birch, or maple offcut was on hand — different pieces ended up on different species depending on what scrap was the right size that day. A light coat of teak oil sealed them before anything shipped out.
Delivery, with a funny face
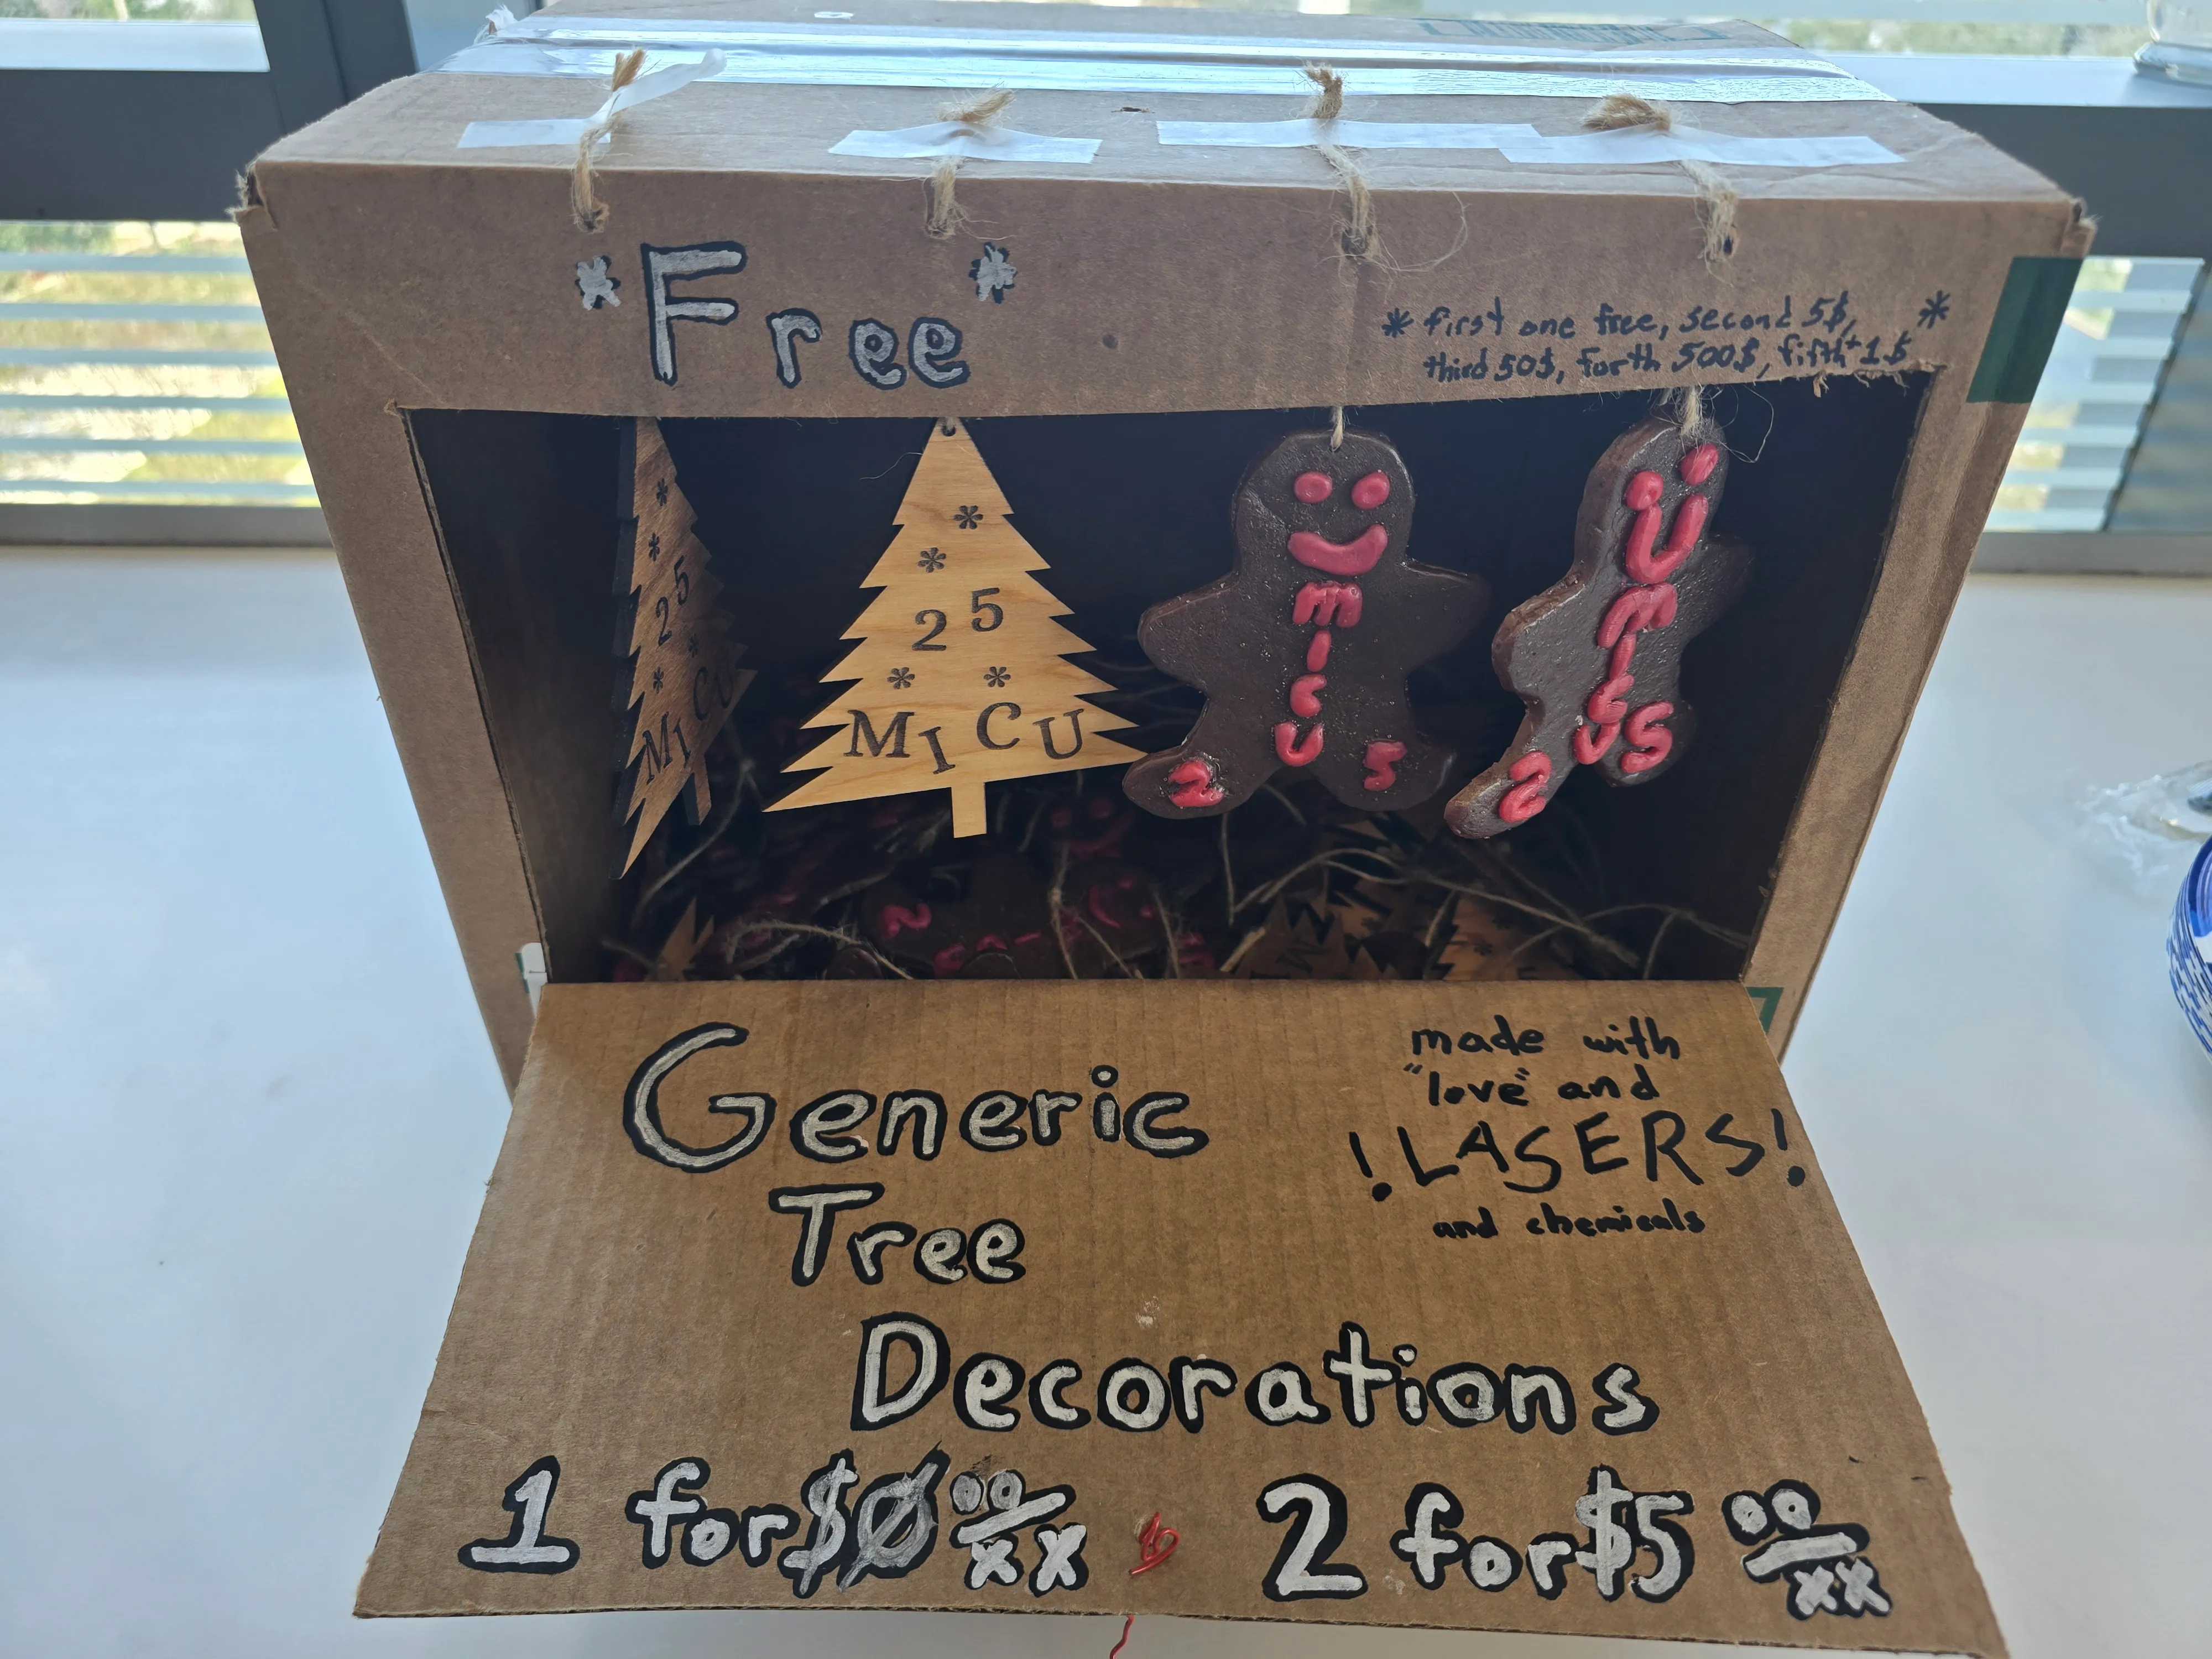
The whole batch went out with a quick two-minute cardboard box display I made. Overall, a fun little project.